Projects
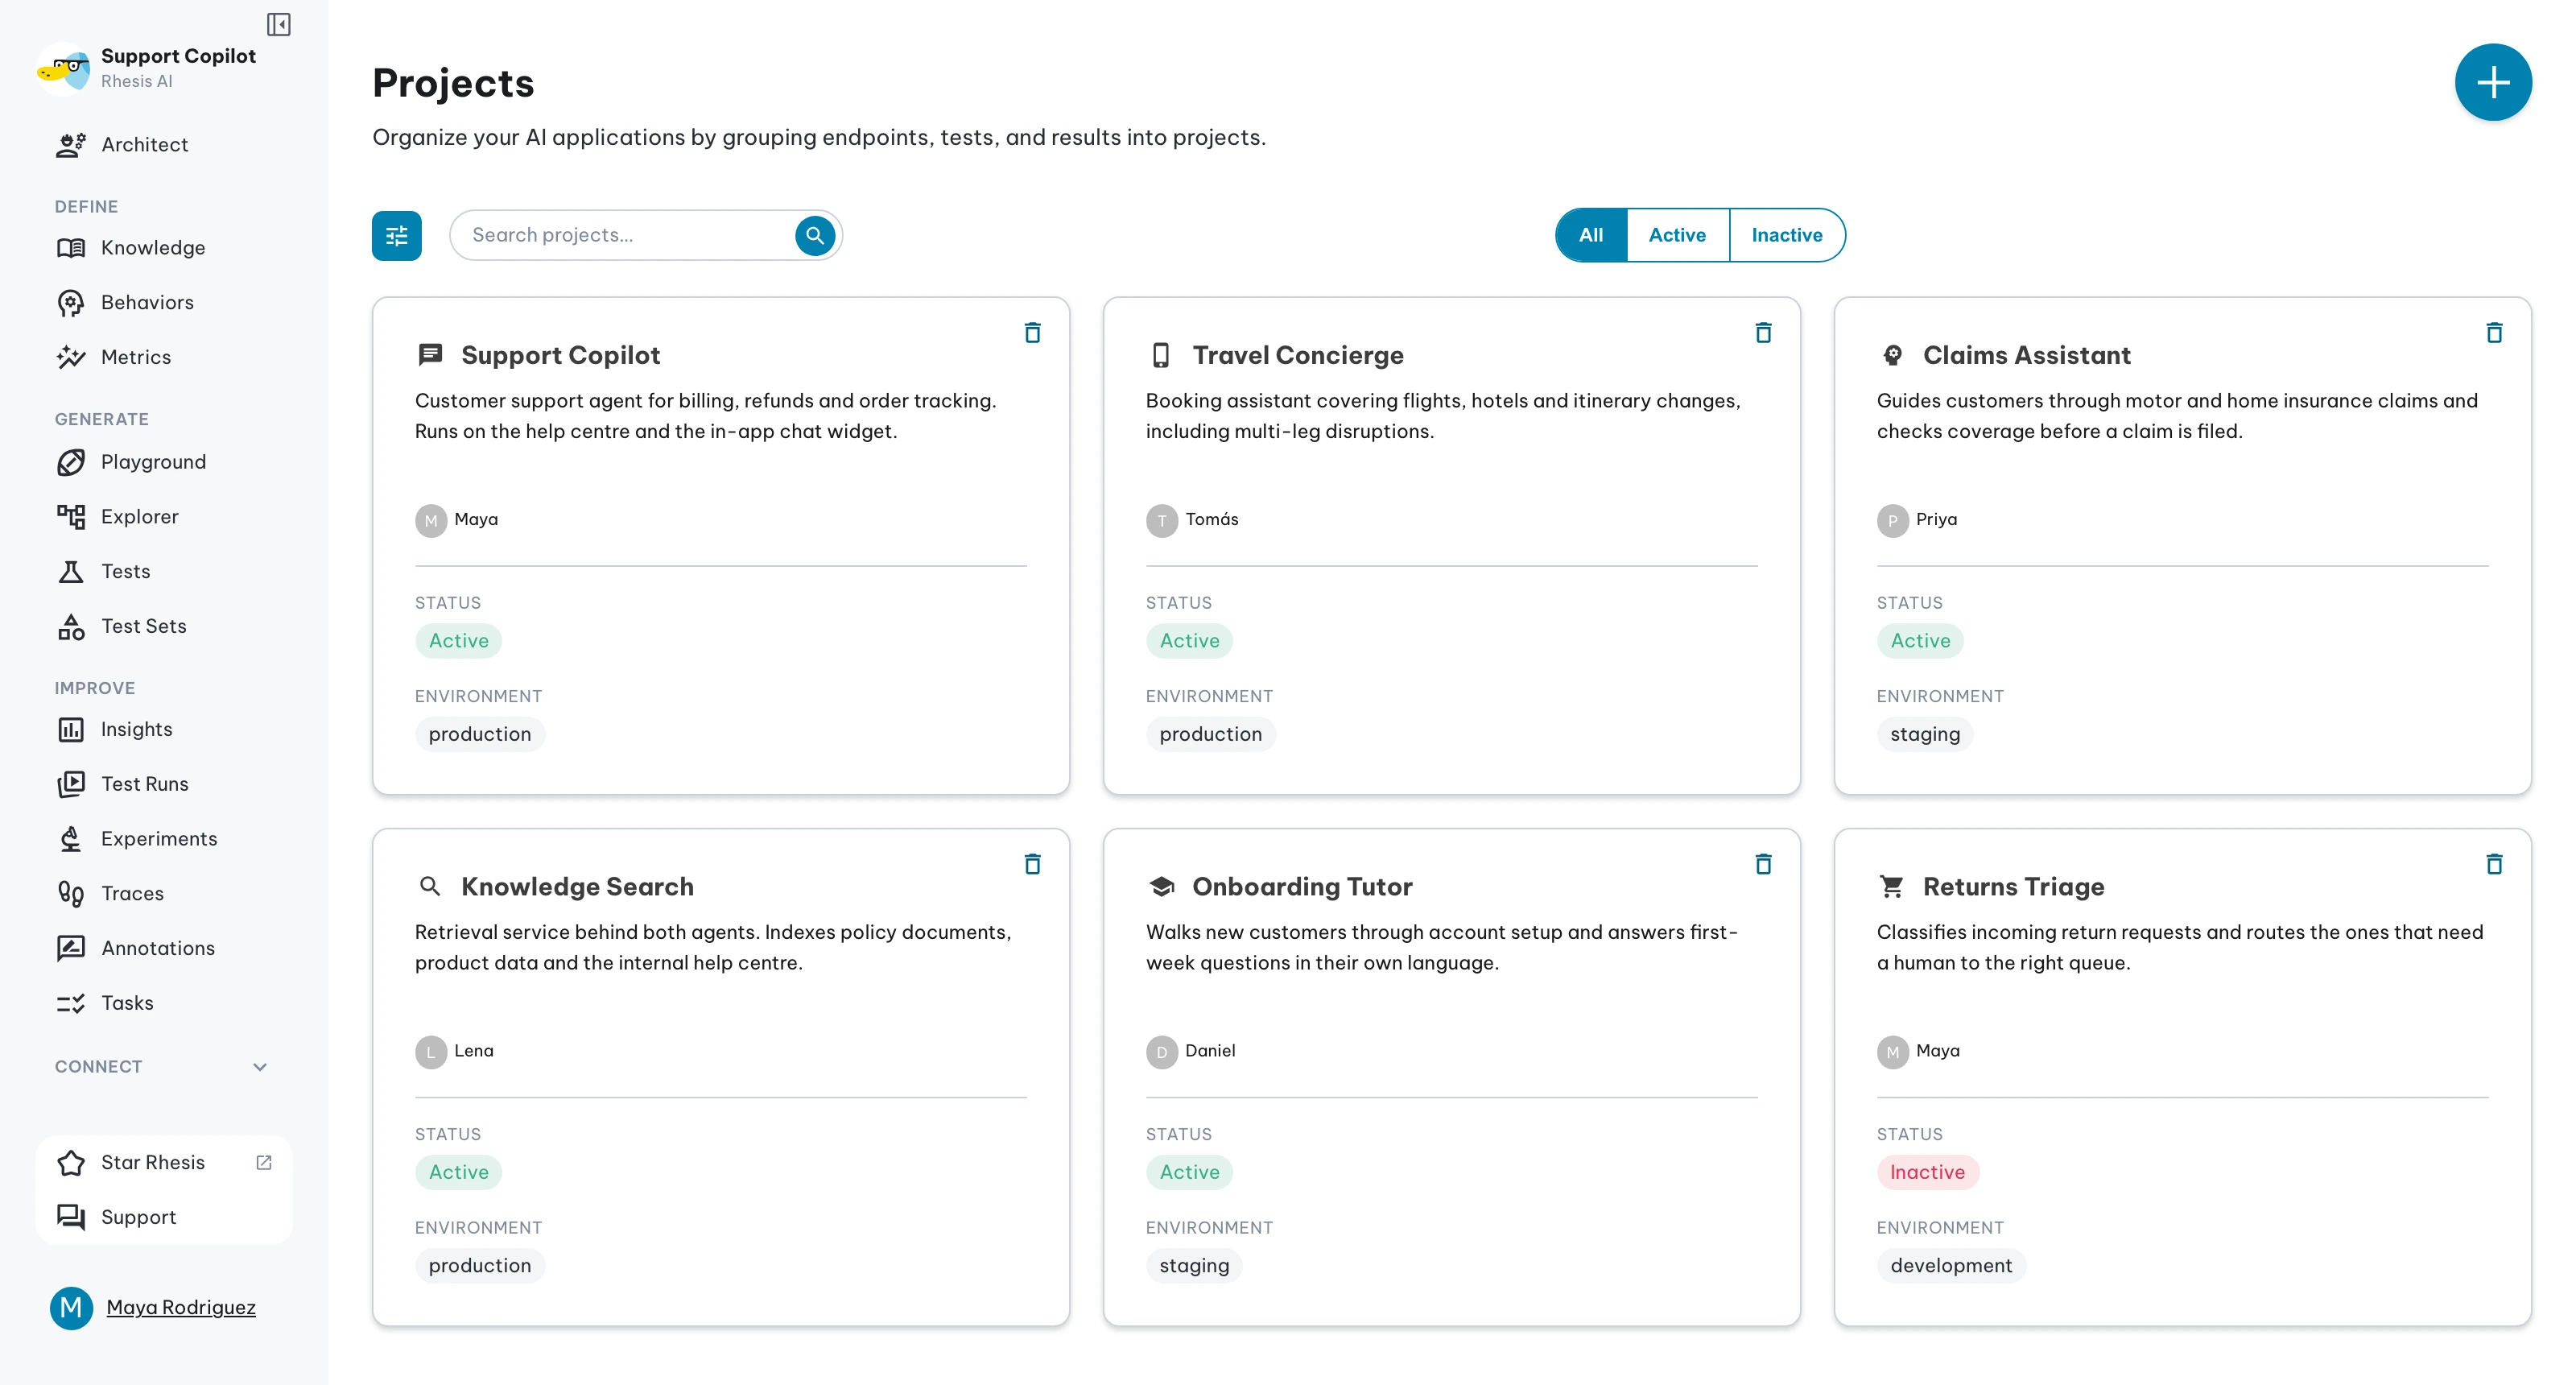
Projects are the top-level organizational unit in Rhesis: each project groups the endpoints, tests, test sets, and results for one LLM application or testing initiative.
Prefer code? Create and manage projects with the Python SDK (entities).
Understanding Projects
A project can hold multiple endpoints, so you can test the same LLM application across environments (development, staging, production) or compare different implementations and API configurations.
Parameter Schema
A project also owns a Parameter Schema, which defines the typed configuration slots your application supports (like model selection, temperature, and system prompts). Within the project, users create and manage Experiments that bundle values for these slots.
Working in a Project
Most Rhesis views are scoped to the active project. The frontend sends the active
project as X-Project-Id, and backend queries use that project scope for
endpoints, tests, test sets, test runs, traces, and related records.
The Project box at the top of the sidebar shows the active project. Open it to go to Project Settings, search and pick a different project, see All Projects, or create a New Project.
| Project switcher behavior | Details |
|---|---|
| Single project | Automatically selected |
| Multiple projects | Choose from your project memberships in the Project box |
| Persistence | Stored in a browser cookie and saved as your default_project setting |
| Switching | Reloads the page so every view refetches with the new project scope |
| No memberships | Shows No project access with create-project and refresh actions |
If a grid appears empty after switching workstreams, confirm the active project in the sidebar before changing filters.
Creating a Project
Open the Project box in the sidebar and choose New Project, or click the + (Create project) button on the Projects page. The new project becomes the active one, and Rhesis opens it.
Once your project is created, you’ll typically:
- Add endpoints that connect to your LLM application’s API
- Create or generate tests to validate your AI behavior
- Organize tests into test sets for execution
- Run tests against any of your project’s endpoints and analyze results
Managing Projects
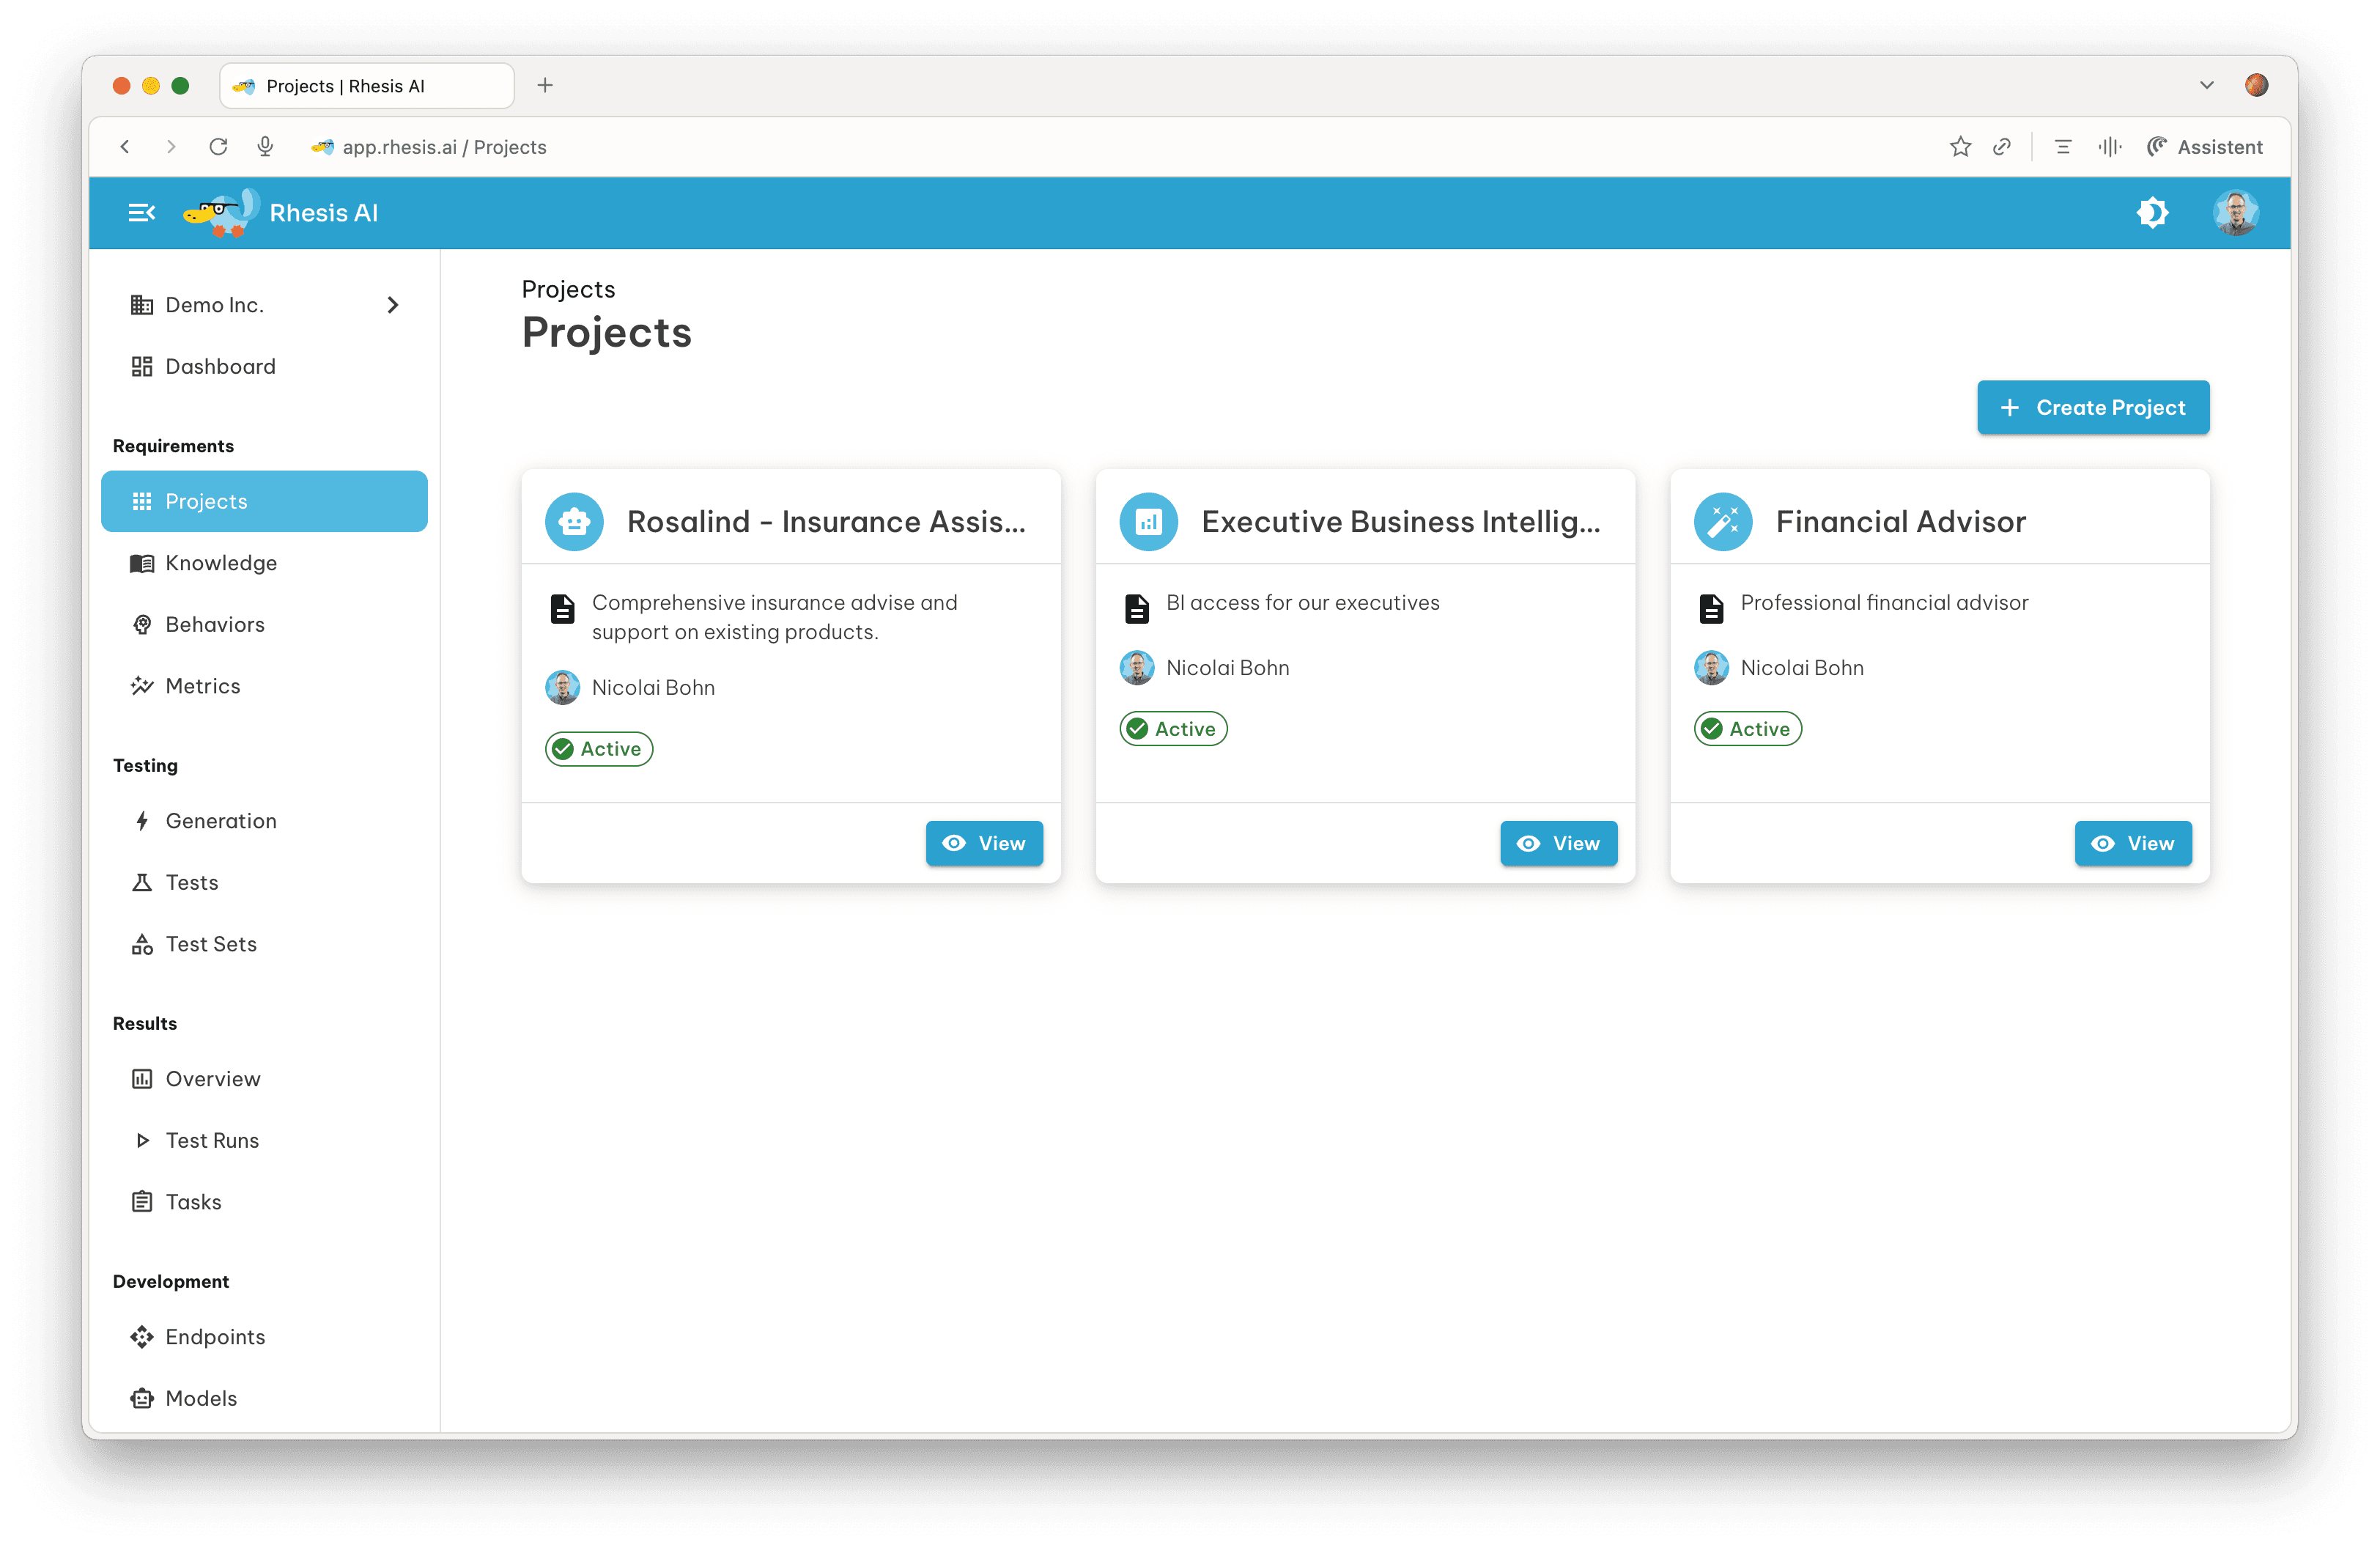
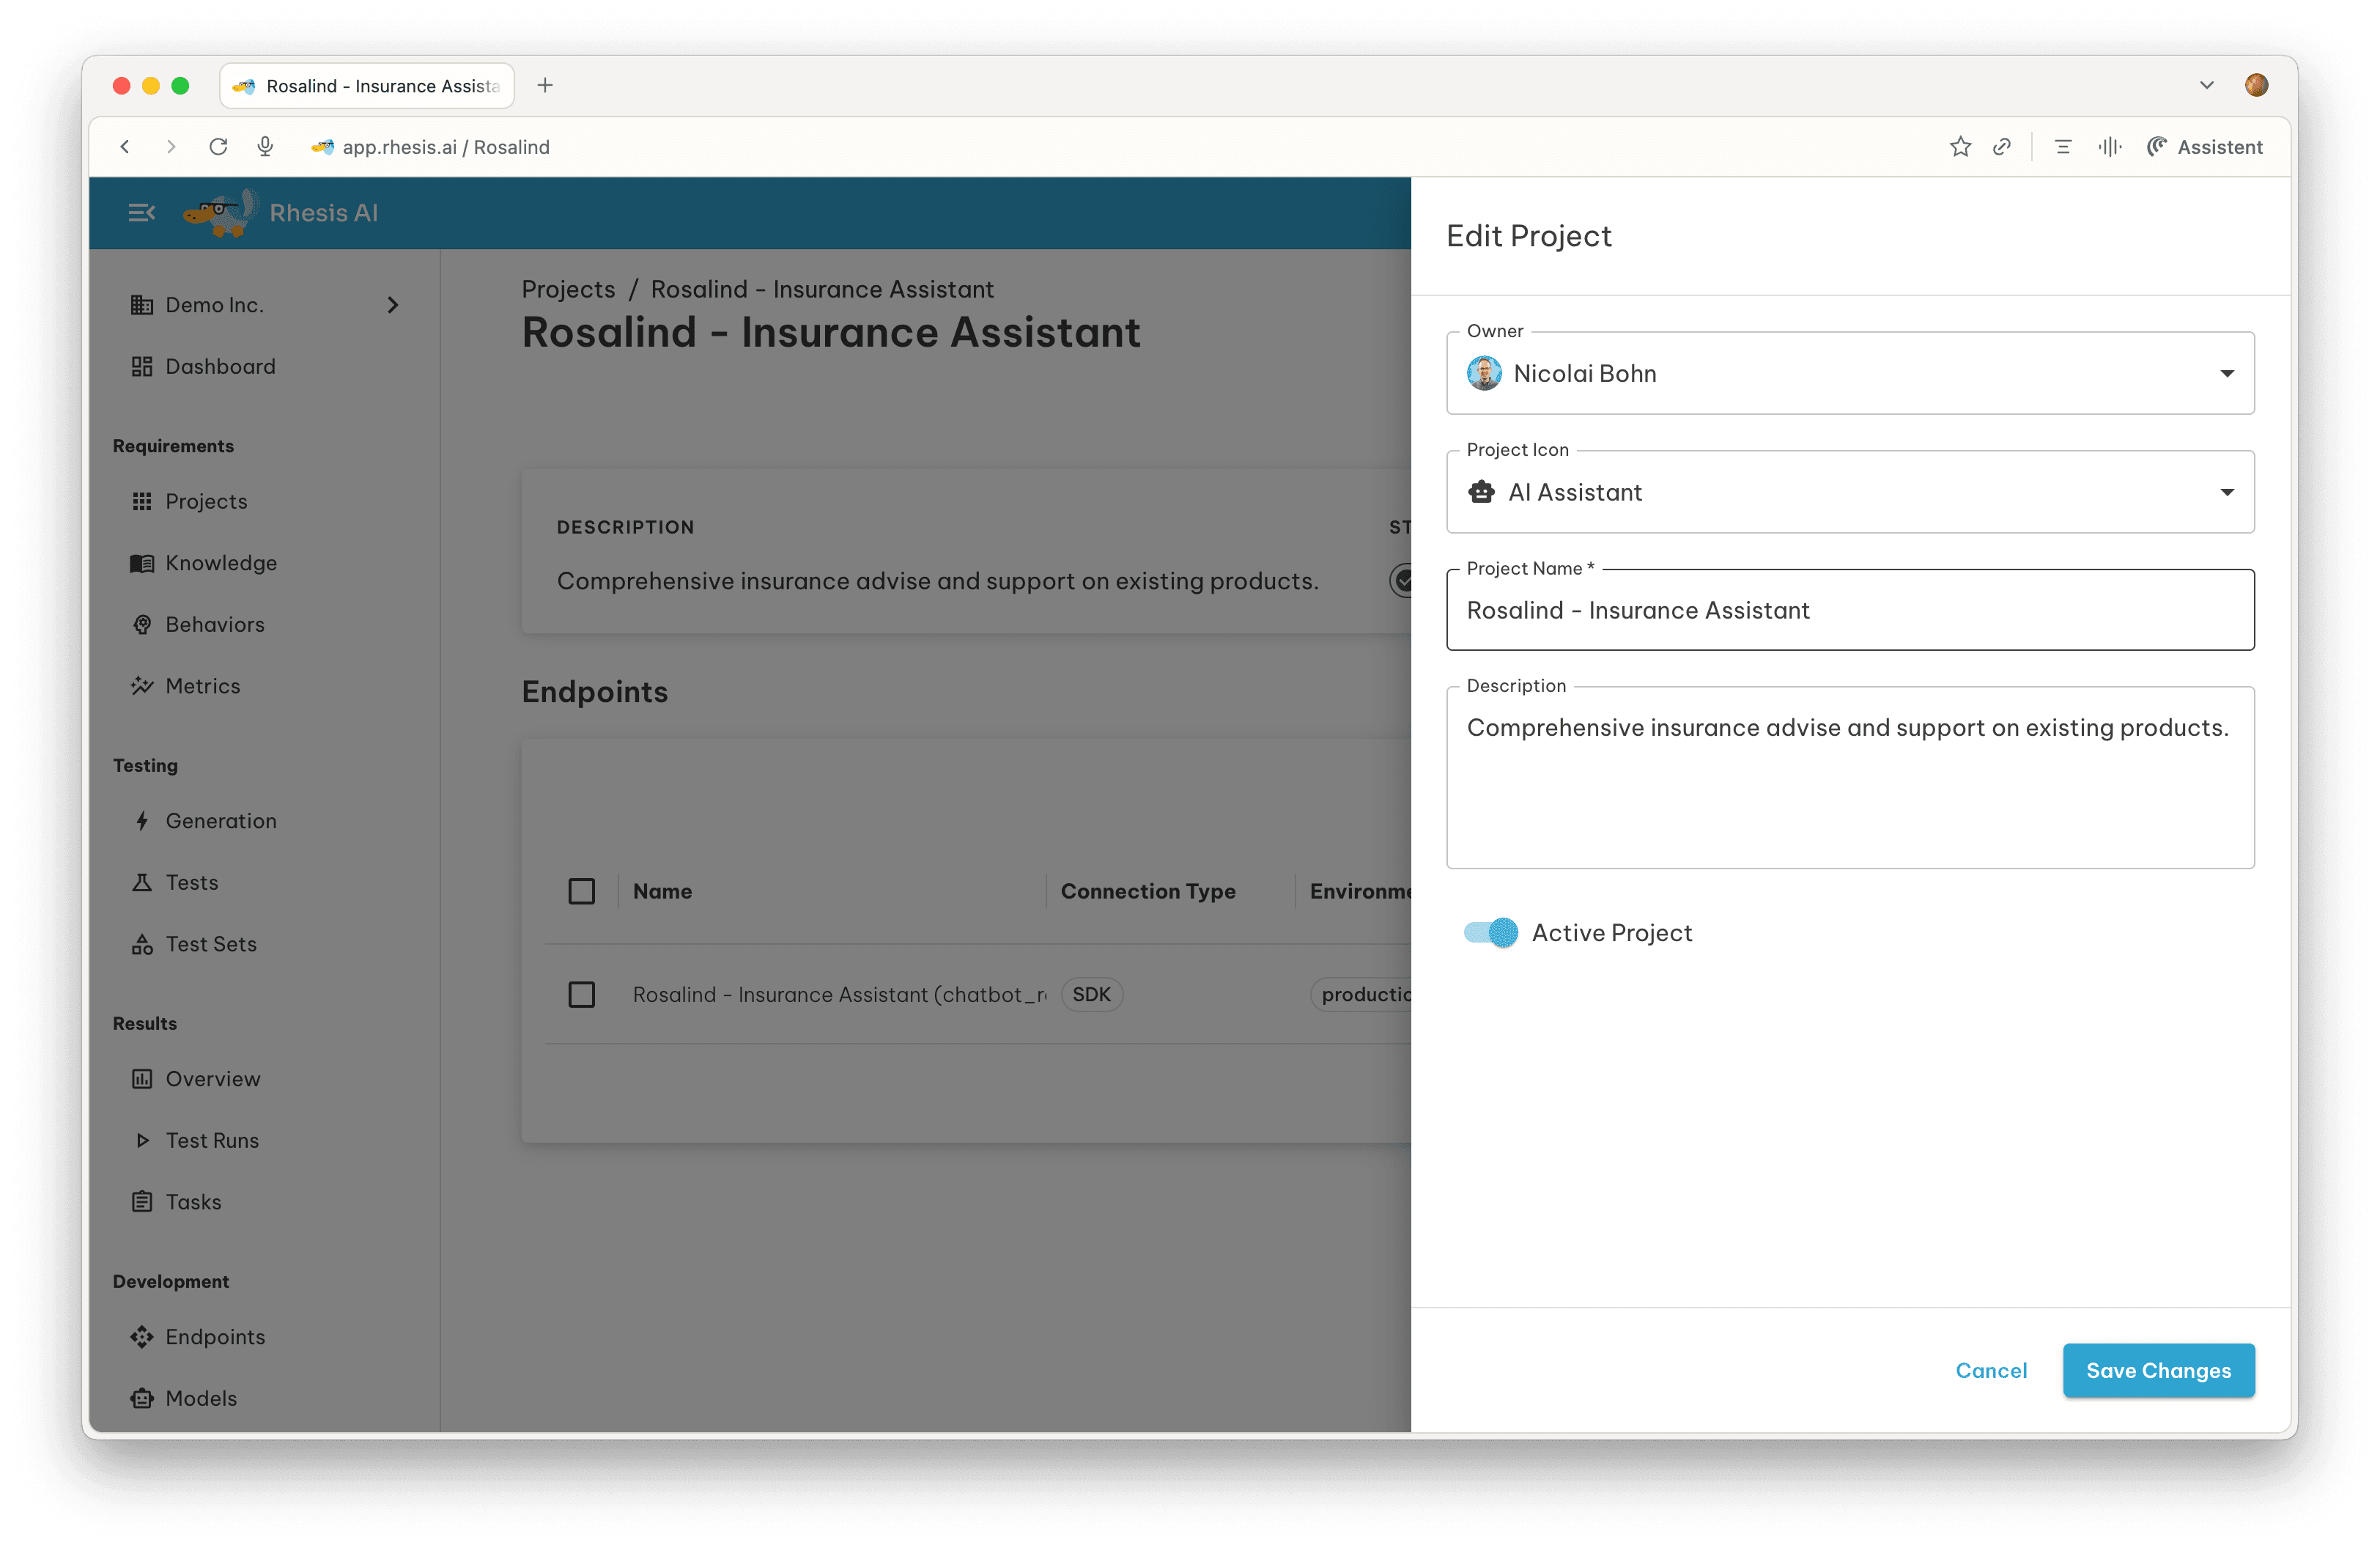
Click a project card to open the project details page, where you can edit settings or delete the project. The card of the project you are working in is marked Current. That is separate from the Active status described below.
Search, filters, and pagination
The Projects page supports discovery controls for larger organizations:
| Control | Behavior |
|---|---|
| Search | Filters by project name and description |
| Status filter | Toggle between All, Active, and Inactive |
| Pagination | Navigate results with configurable page sizes (25, 50, 100) |
These controls apply together, so you can search within a status-filtered subset of projects.
Project Status
Projects can be marked active or inactive from the project edit drawer. The status drives the badge on the project card and the status filter on the Projects page, so you can keep finished initiatives out of view without deleting them.
Deleting Projects
Important: Deleting a project is permanent. Consider marking it inactive instead if you want to preserve historical data.
To delete a project, click the delete icon on its card and confirm in the dialog. This permanently removes the project and all associated endpoints, tests, and test sets.
You cannot delete the project you are working in: its delete icon and the Delete button on its detail page are disabled. Switch to another project first. After a delete, the app returns to the Projects list.