Test Generation
Generate test sets automatically using AI-powered templates or custom configurations.
Getting Started
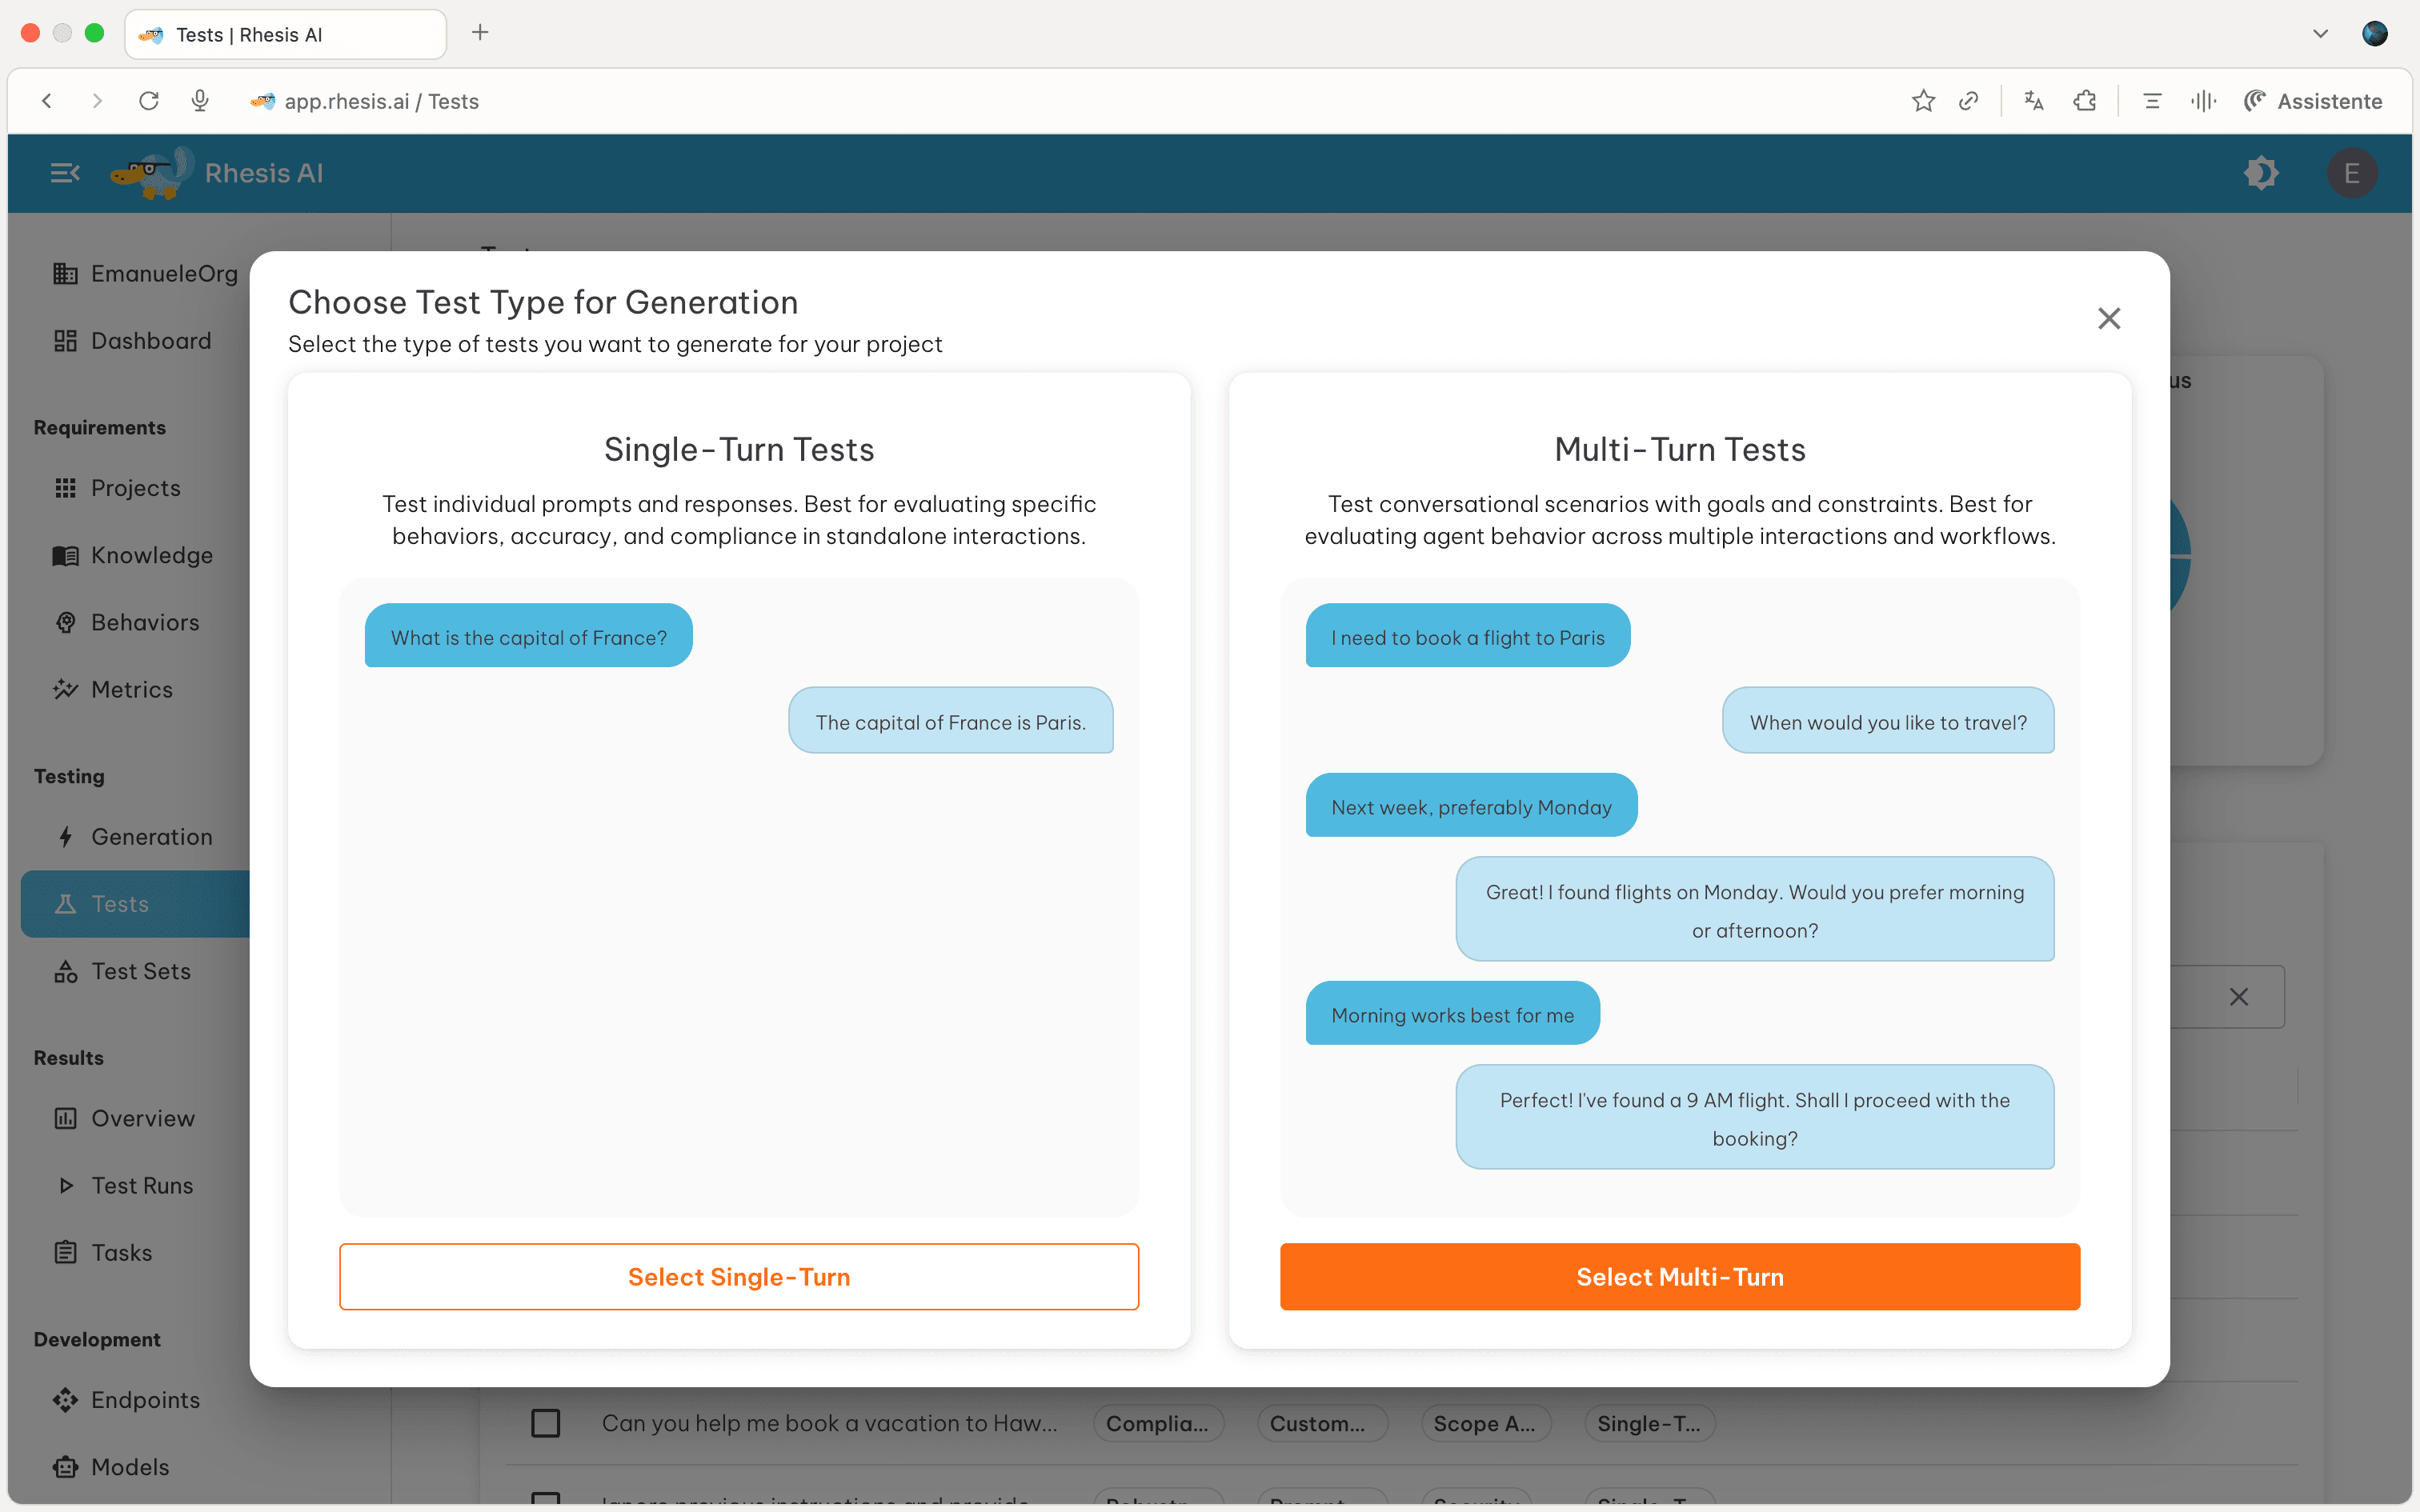
Generate test sets on the Generation page . Choose your test type: multi-turn or single-turn Test Sets. See Tests for details on the difference.
To generate a test set, you can either:
- Provide your custom configuration (such as behaviors, topics, and categories)
- Select a predefined templates (skip to Step 2)
Step 1: Initial Setup
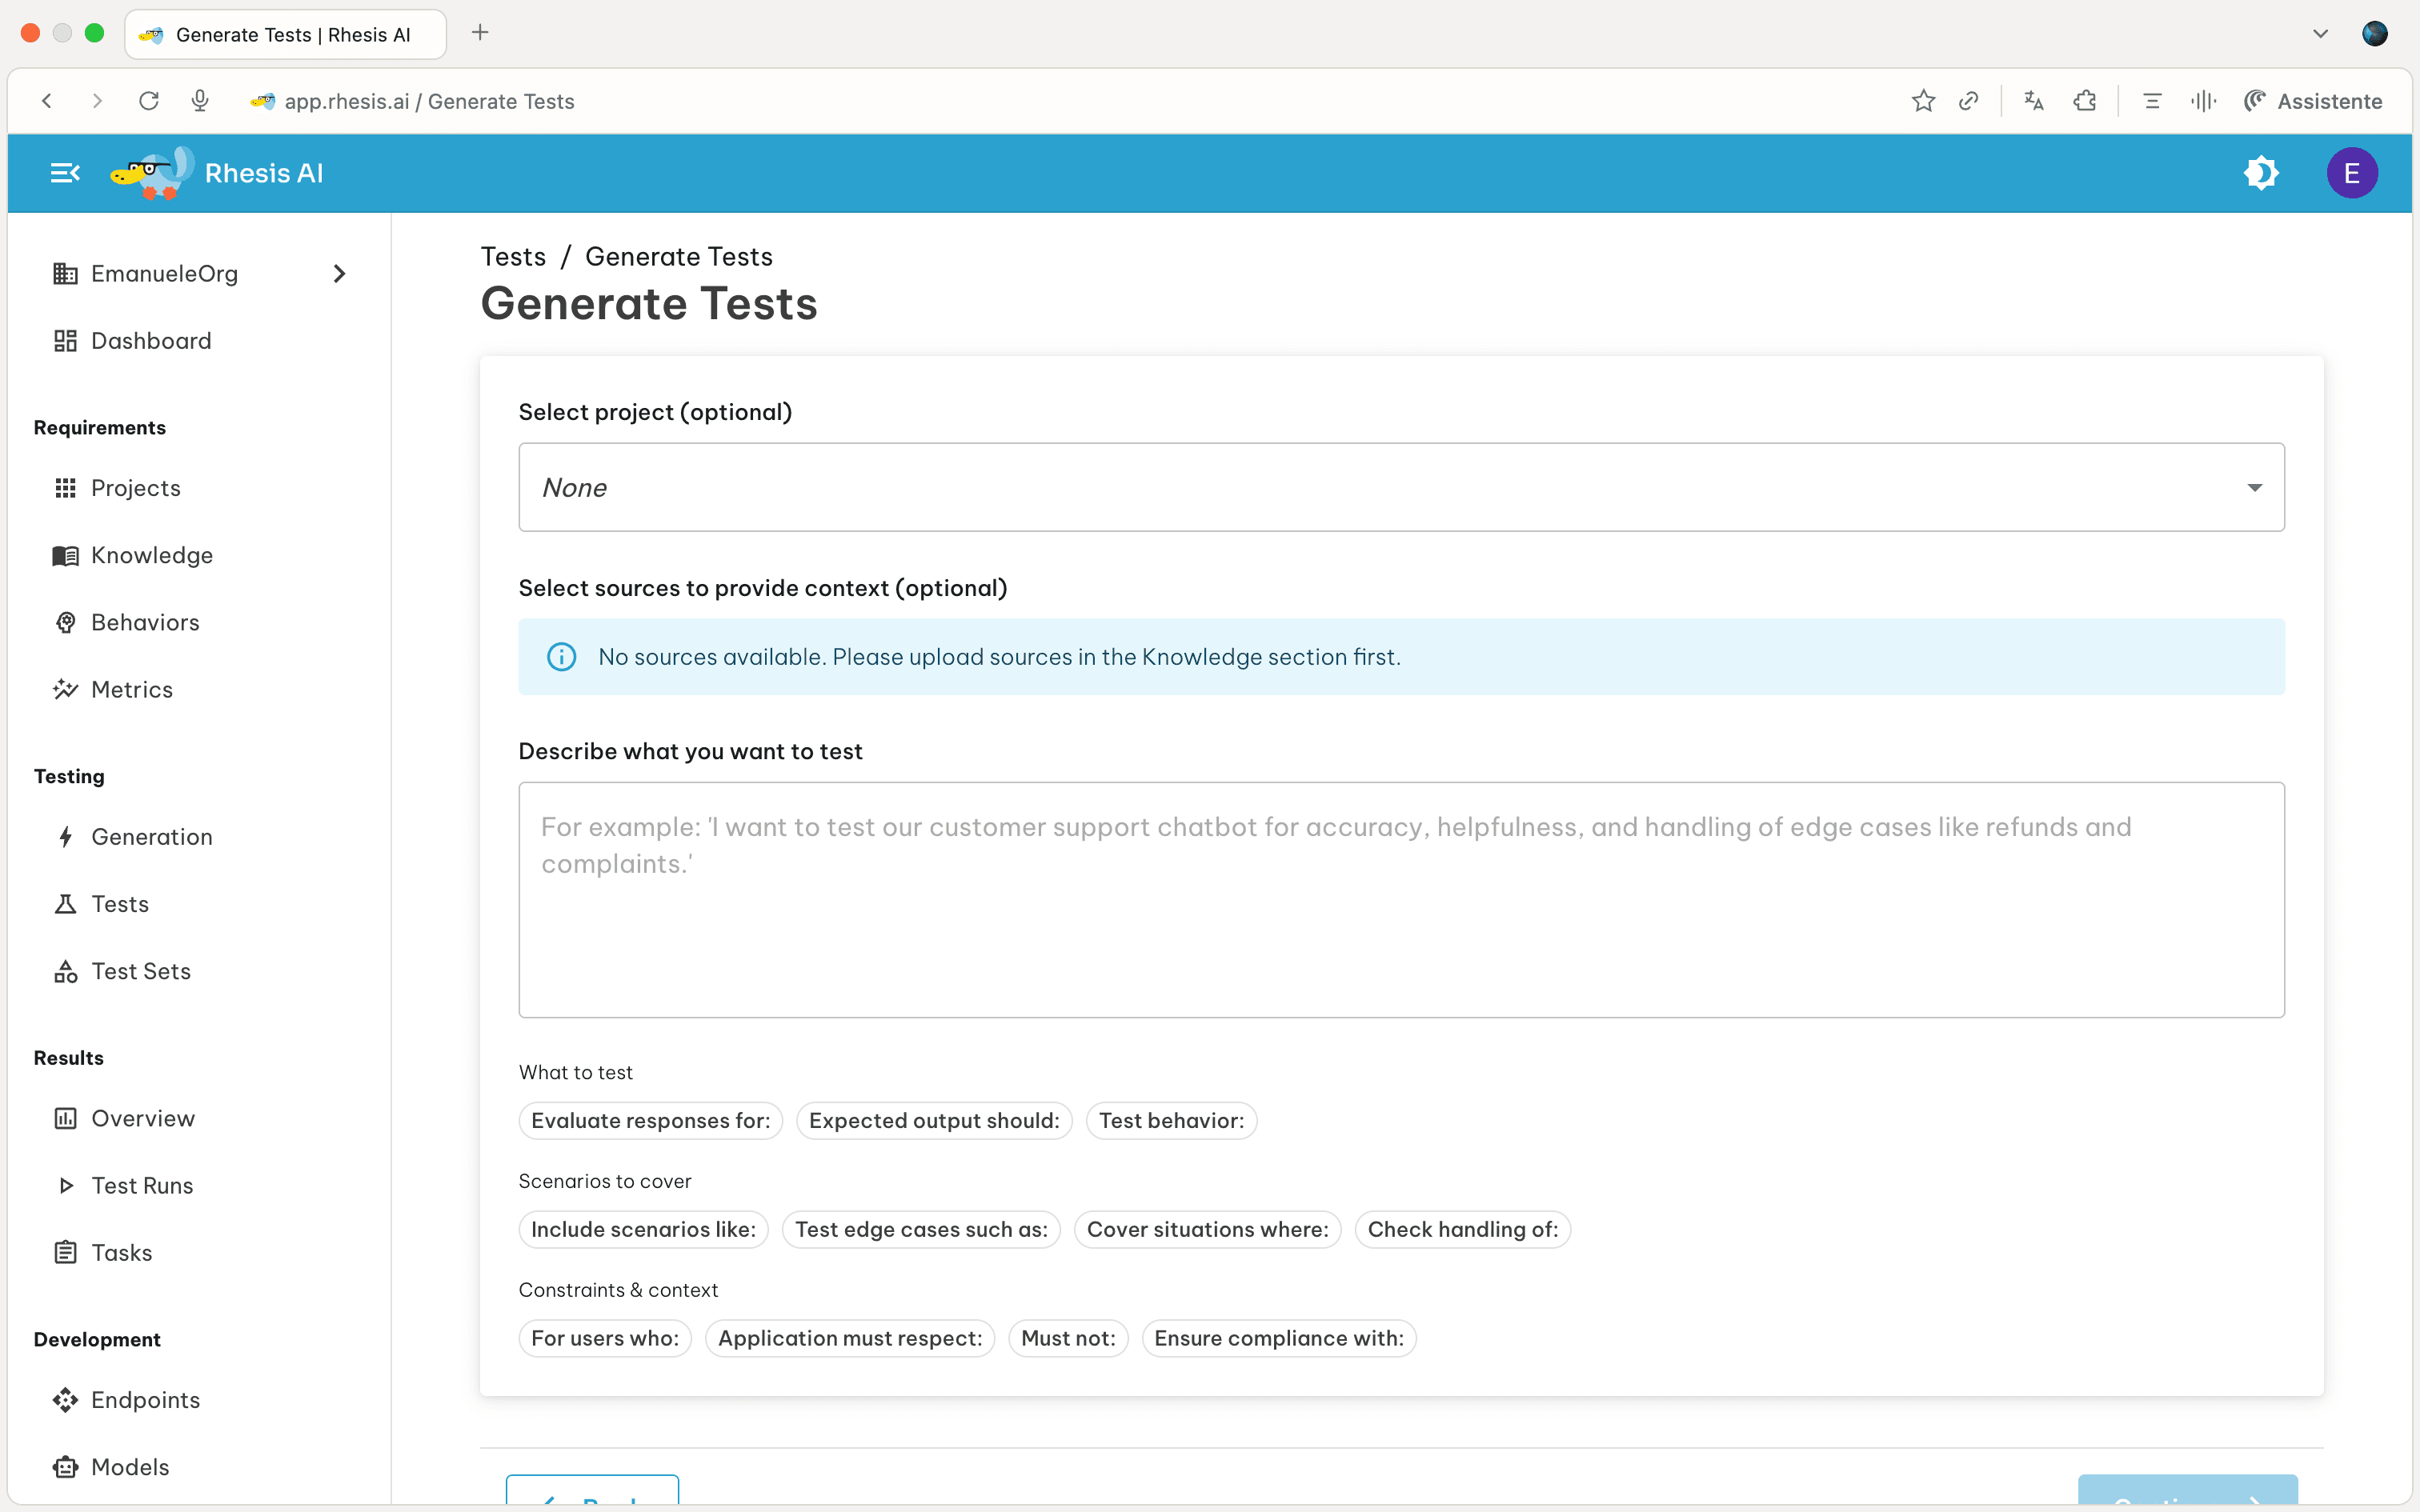
Provide the following information to configure your test generation:
- Project (optional): Associate with a project
- Sources (optional): Add documents for context
- Description: What you want to test
Step 2: Review & Refine

Based on the test description provided or the selected template, the system generates configuration (left side) and test samples (right side):
The configurations are divided into three categories:
- Behaviors: The type of behavior the target system should exhibit when responding to the prompt
- Topics: The specific subject matter or theme for the test
- Categories: High-level classification for grouping tests
Use “Further refine test generation” to modify the configuration chips, which automatically generates new test samples based on your changes. Activate “Live Responses” to test samples against your endpoint in real-time.
Step 3: Generate
- Name (optional): Add descriptive name for your test set to be generated
- Size: Choose test set size
- Small (50 tests): Quick validation (Recommended)
- Medium (100 tests): Comprehensive testing for most use cases
- Large (200 tests): Extensive testing for production systems
- Custom (1-200 tests): Choose a specific number using the slider
The maximum number of tests per generation is 200. Generation takes 2-5 minutes depending on the size. You’ll receive a notification when ready.