Projects
Organize and manage your testing projects with comprehensive project management capabilities.
What are Projects? Projects are the top-level organizational unit in Rhesis. They group related endpoints, tests, test sets, and results together, making it easy to manage different AI applications or testing initiatives. Prefer code? Create and manage projects with the Python SDK (entities).
Understanding Projects
Projects are the parent organization structure for endpoints. Each project can have multiple endpoints nested within it, allowing you to test the same AI application across different environments (development, staging, production) or compare different implementations and API configurations. Within a project, you’ll find:
- Endpoints: The API configurations that connect to your LLM application (each project can have many endpoints)
- Tests: The test cases you’ve created to evaluate behavior
- Test Sets: Collections of tests organized for execution
- Test Results: All historical results from your test runs
Creating a Project
Create a project by clicking on Project in the Requirement section, then Create Project.
Once your project is created, you’ll typically:
- Add endpoints that connect to your LLM application’s API. Each endpoint is created within this project and can represent different environments (development, staging, production) or different API implementations. For example, you might create:
- A development endpoint pointing to your local LLM application instance
- A staging endpoint for pre-production validation of your LLM application
- A production endpoint for live system monitoring
- Create or generate tests to validate your AI behavior
- Organize tests into test sets for execution
- Run tests against any of your project’s endpoints and analyze results
This multi-endpoint approach lets you validate that your AI works correctly across all environments before deploying changes to production.
Managing Projects
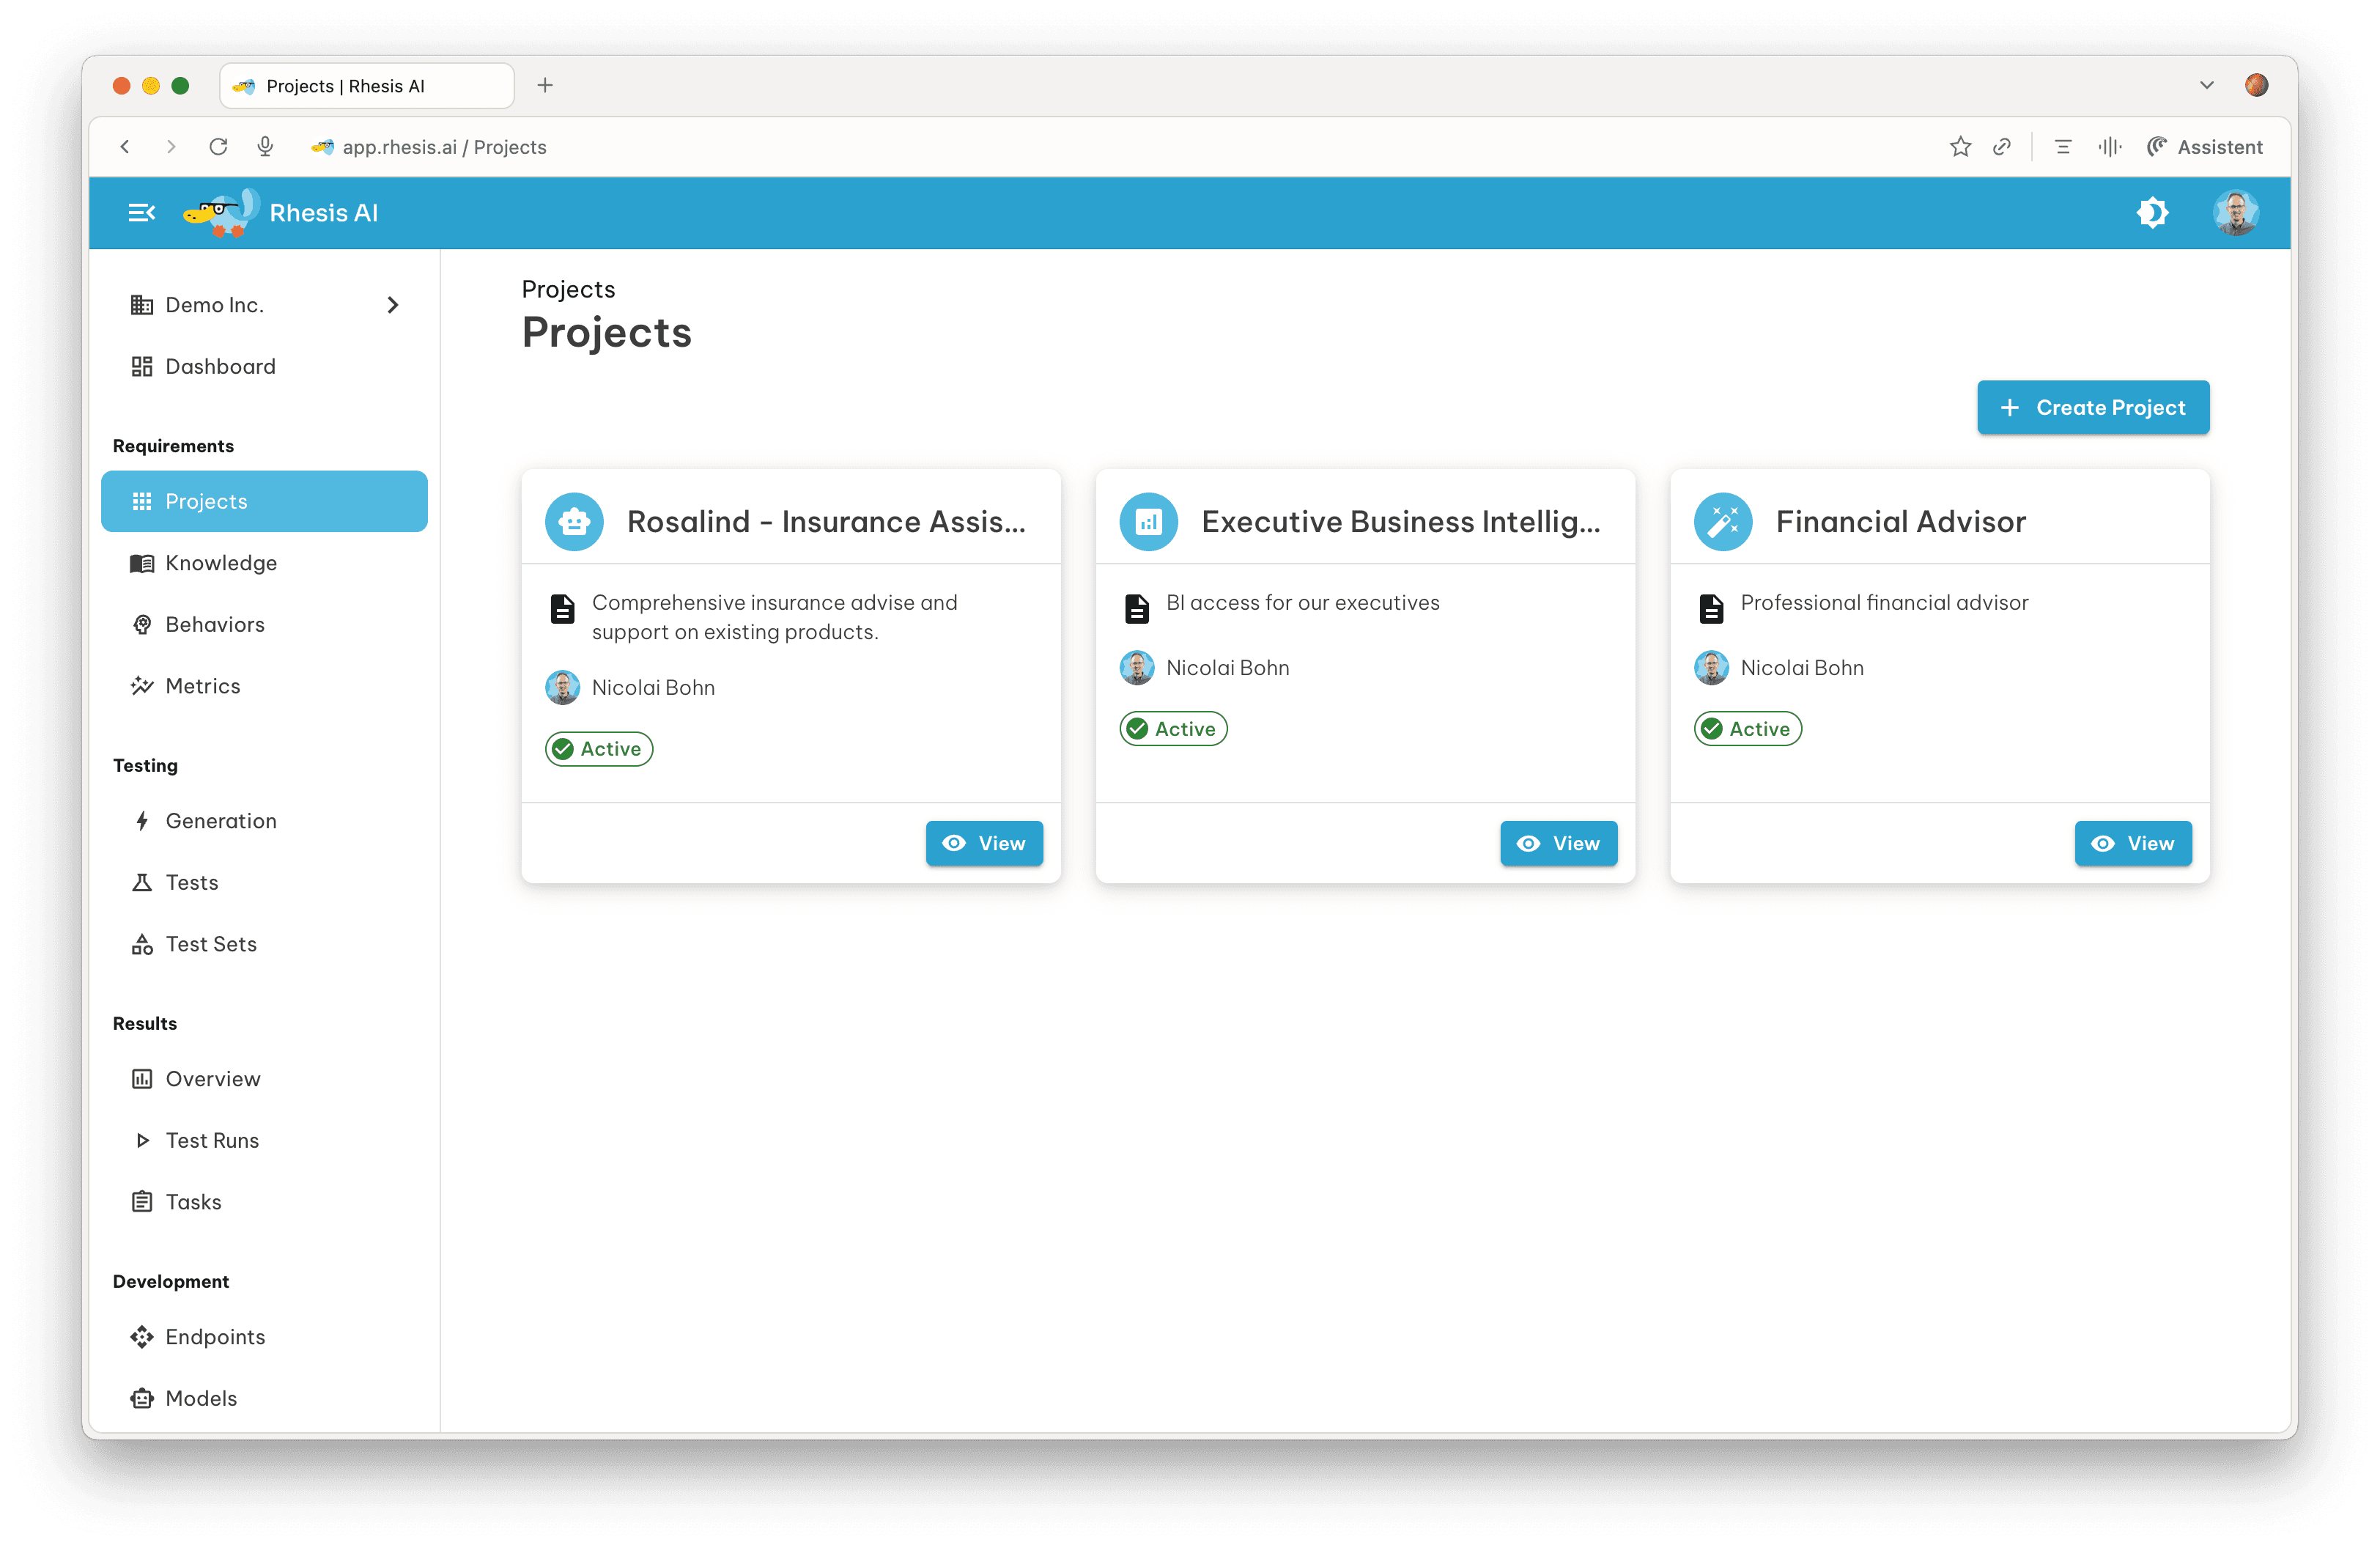
Click View on any project card to access the project details page, where you can edit settings or delete the project.
Search, filters, and pagination (v0.6.9+)
The Projects page supports built-in discovery controls for larger organizations:
| Control | Behavior |
|---|---|
| Search | Filters by project name and description |
| Status filter | Toggle between All, Active, and Inactive |
| Pagination | Navigate results with configurable page sizes (25, 50, 100) |
These controls apply together, so you can search within a status-filtered subset of projects.
Project Status
Projects can be either active or inactive.
-
Active Projects are fully operational - you can create tests, run test suites, and they’re visible in dashboards.
-
Inactive Projects preserve all historical data for review, but prevent creating new tests or running existing ones. Toggle status from the project edit drawer.

Deleting Projects
Important: Deleting a project is permanent. Consider marking it inactive instead if you want to preserve historical data while preventing new work.
To delete a project, open the project details page, click Delete, and confirm in the modal dialog. This permanently removes the project and all associated endpoints, tests, and test sets.