MCP
MCP (Model Context Protocol) servers allow you to export sources from external tools into your Rhesis Knowledge base. These sources can then be used in test generation and other workflows.
This page covers importing knowledge into Rhesis from tools like Notion, GitHub, and Jira. If you want to call Rhesis from Cursor or Claude Code to explore endpoints and run tests, see Agent Skill instead.
Setting Up an MCP Connection
Notion
Expand setup steps
- Create a Notion integration at https://www.notion.so/profile/integrations/internal/ .
- After creating the integration, click on the “Access” tab to grant access to the pages and teamspaces you want to export from. Note: This step is required for the integration to access your content.
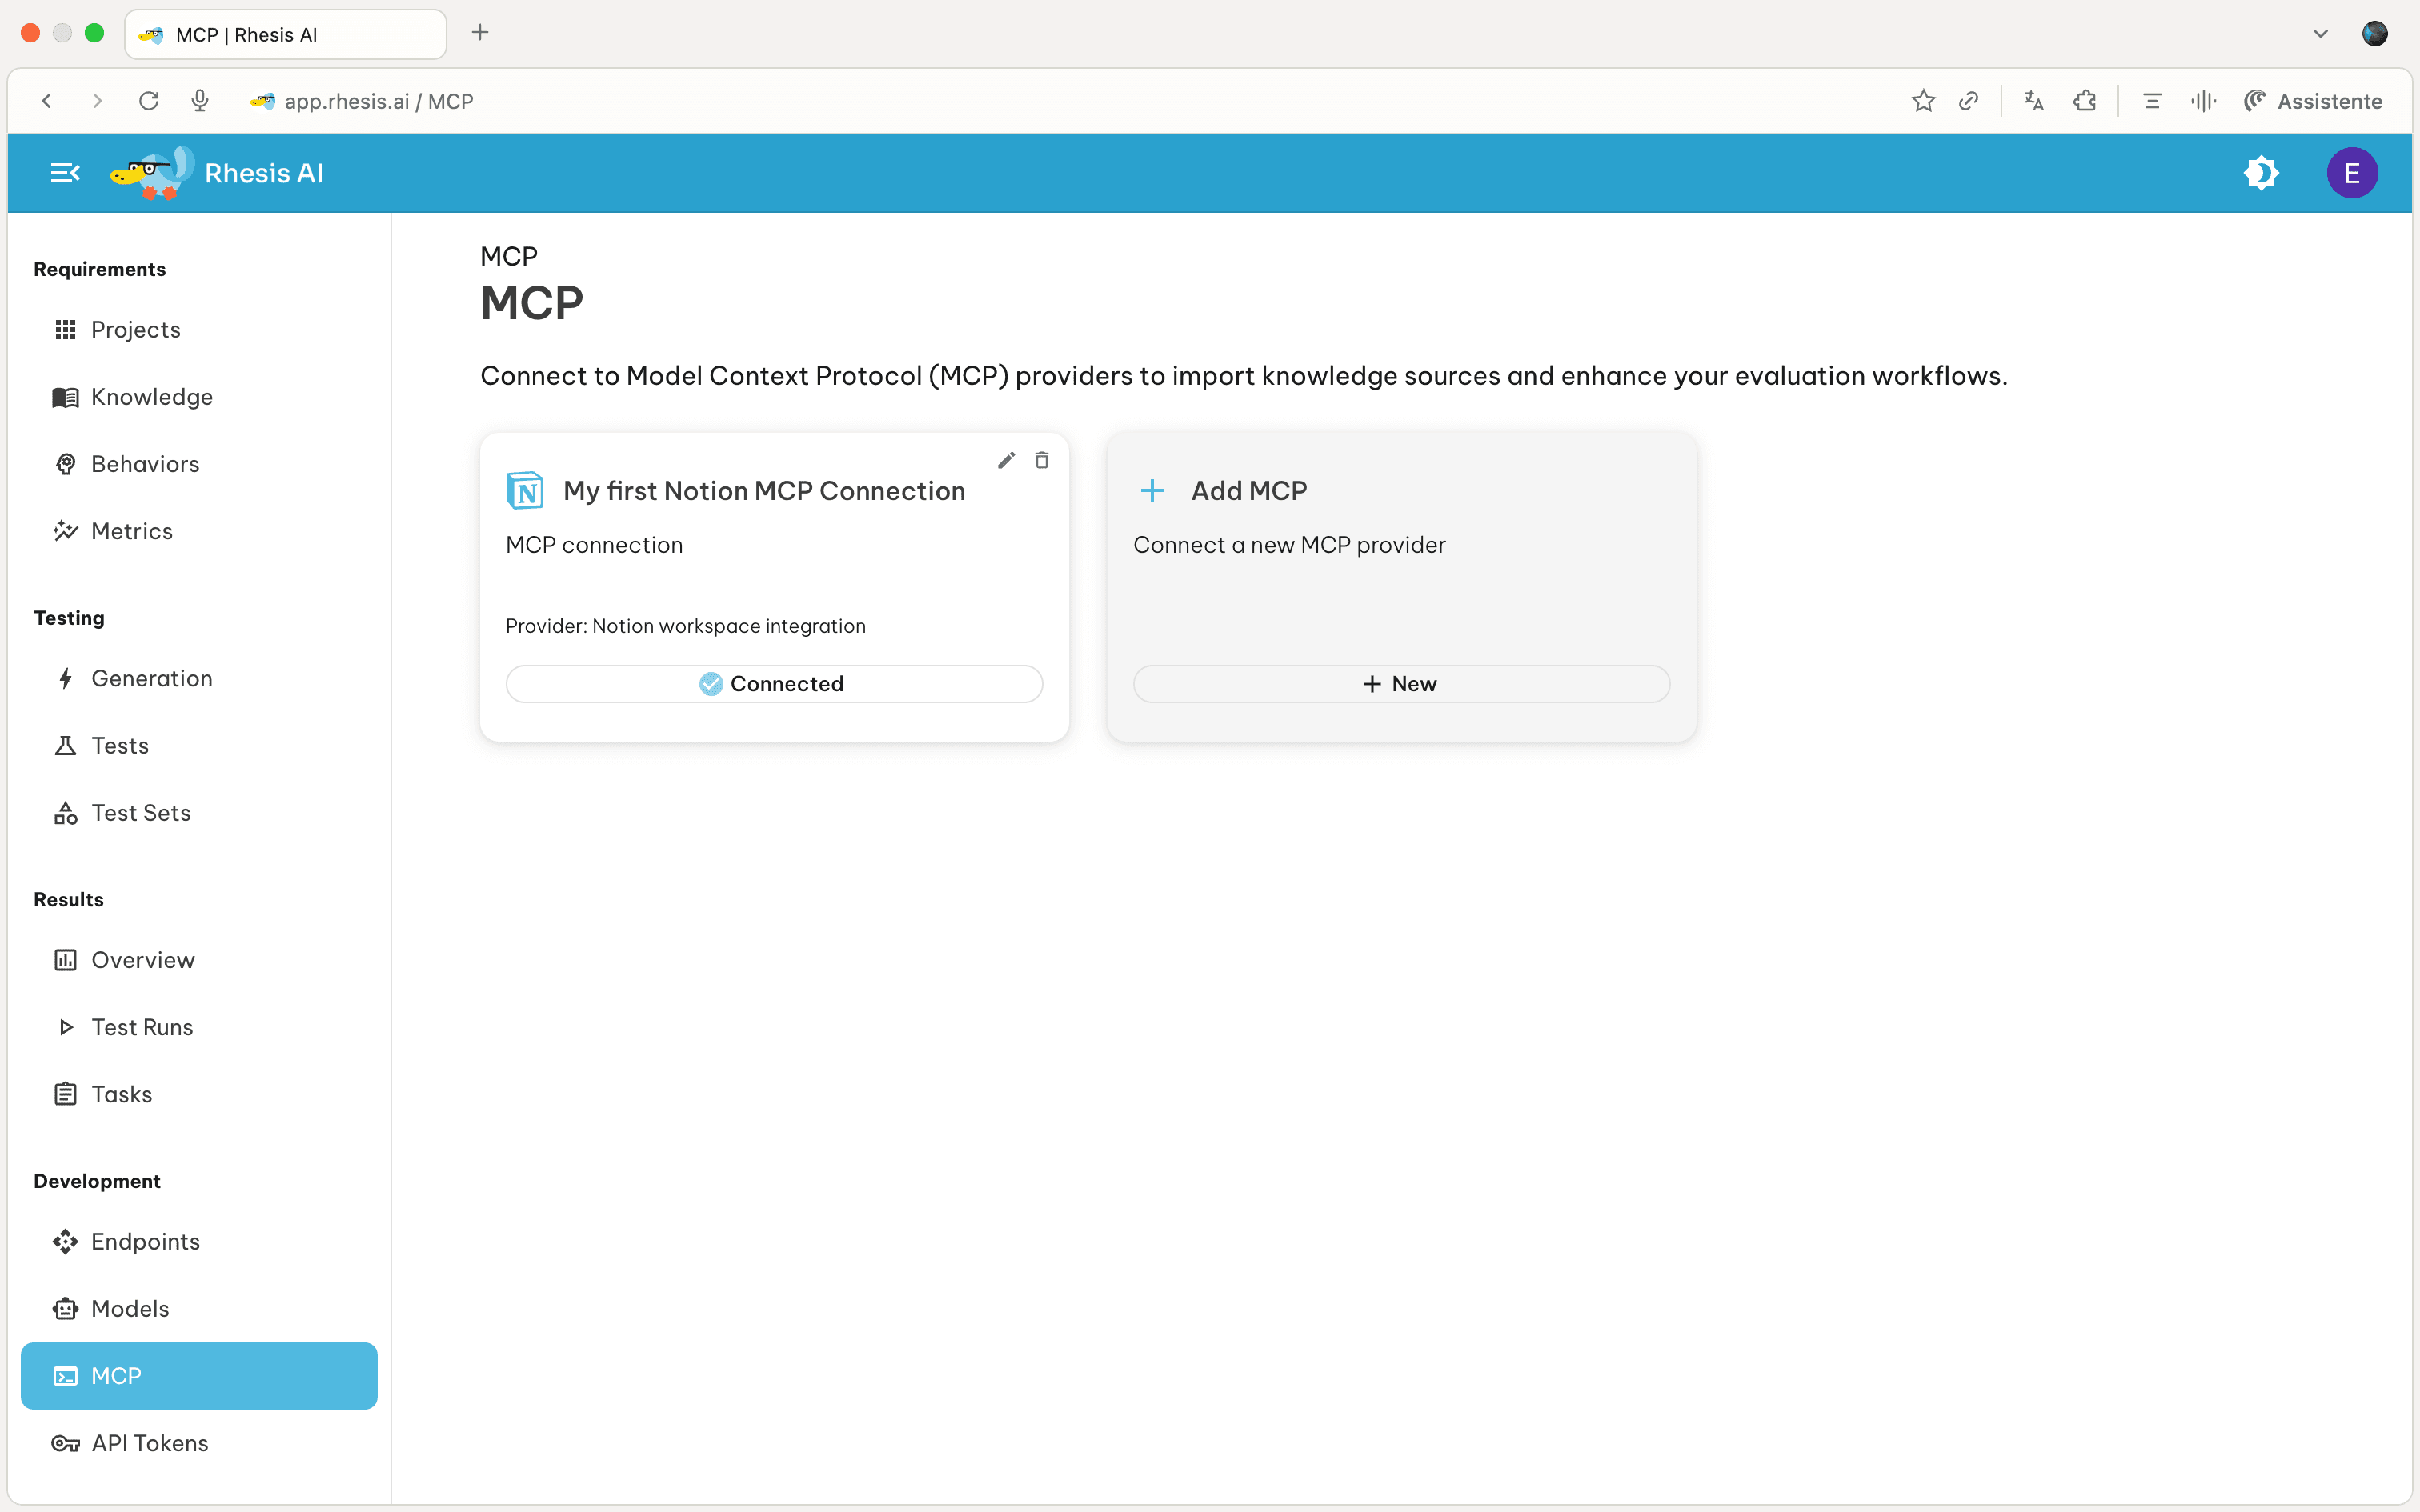
- In Rhesis, go to the MCP page and click “Add MCP Server”
- Select “Notion” as the provider type
- Enter a connection name and paste the token (it should start with “ntn…”)
- Test the connection
- Save
GitHub
Expand setup steps
- Log in to GitHub and click your profile picture → Settings.
- Select “Developer Settings” from the left sidebar
- From there, click on “Personal Access Tokens” → “Tokens (classics)”
- Click on “Generate new token” → “Generate new token (classics)”
- Choose the scopes required. For Rhesis, you will need to select repo (permission to full access to repositories).
- In Rhesis, go to the MCP page and click “Add MCP Server.”
- Select “GitHub” as the provider type.
- Enter the connection name and paste the token (it should start with “ghp…”).
- Test the connection
- Save
Jira or Confluence
Expand setup steps
- Go to https://id.atlassian.com/manage-profile/security
- Scroll down and click on “Create and manage API token”
- Follow the instructions to verify your identity
- Click on “Create an API token”, then select a name and a expiration date
- In Rhesis, go to the MCP page and click “Add MCP Server.”
- Select either “Jira” or “Confluence” as provider type (you can use the same API token for both!)
- In addition to the API token, also insert the email you are registred with Atlassian, and the atlassian workspace URL (yourorg.atlassian.net)
- Test the connection
- Save
Custom MCP servers
Expand setup steps
- Select “Custom” as the provider type
- Enter a connection name
- Provide the full MCP server configuration as JSON in tool metadata
- Include required authentication tokens in credentials
- Test the connection
- Save
Note: Custom MCP server support may not be fully functional in all cases. Contact us if you have any issues with setting it up!
Watch this video to see how to connect your Notion workspace and export pages as knowledge sources:
Next Steps - Export sources from MCP servers in Knowledge - Use exported sources in Test Generation